
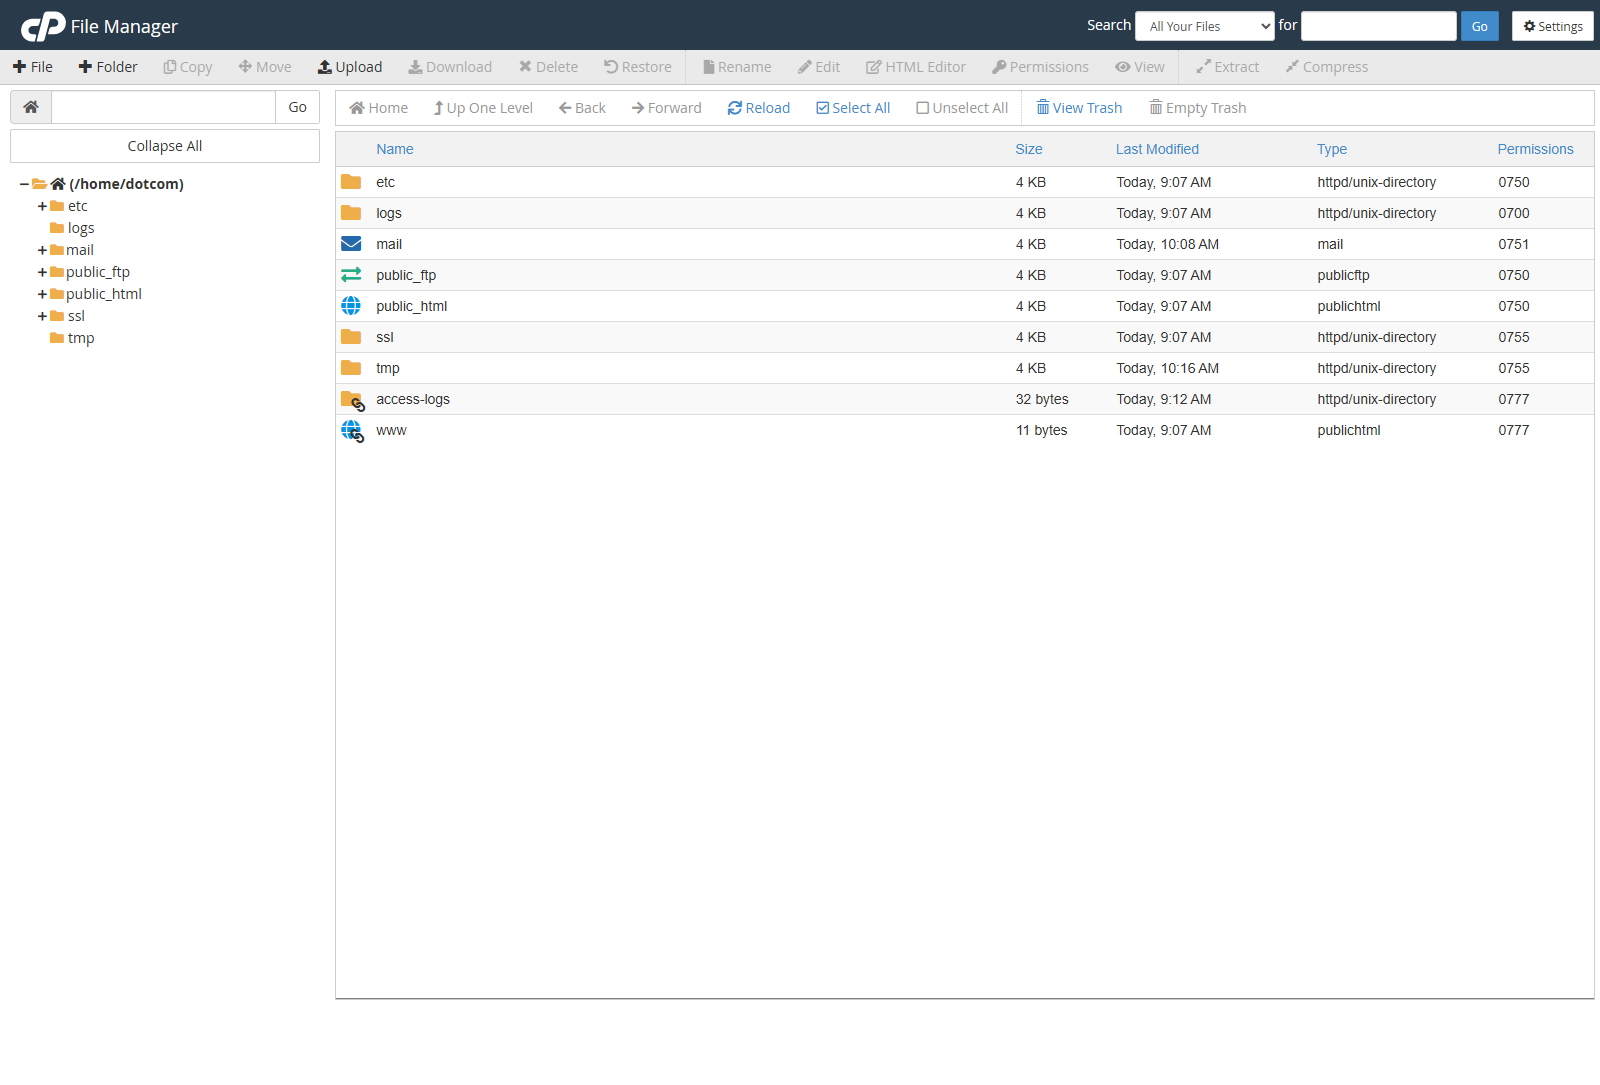
Open Your Website Files
- Go to Files > File Manager.
- Open
public_html. - Open the folder for the website or domain you want to edit.
Upload a File
- Open the folder where the file should go.
- Click Upload.
- Click Select File or drag the file into the upload area.
- Wait until the upload reaches 100%.
- Click Go Back to return to File Manager.
Create a New File or Folder
- Open the folder where the new item should go.
- Click + File or + Folder.
- Enter the name.
- Confirm the location.
- Click Create New File or Create New Folder.
Edit a File
- Select the file.
- Click Edit.
- Confirm the character encoding if cPanel asks.
- Make your changes.
- Click Save Changes.
- Click Close when you are finished.
Rename a File or Folder
- Select the item.
- Click Rename.
- Enter the new name.
- Click Rename File.
Move or Copy Files
- Select the file or folder.
- Click Move or Copy.
- Enter the destination path.
- Click Move File(s) or Copy File(s).
Delete a File or Folder
- Select the item.
- Click Delete.
- Choose whether to skip the trash if that option appears.
- Click Confirm.
Restore a Deleted File
- Click View Trash.
- Select the file or folder.
- Click Restore.
- Confirm the restore.
Notes
- Files for most websites live in
public_html. - Download a copy before editing important files.
- Do not edit files inside a Git repository unless you know how the repository is managed.