
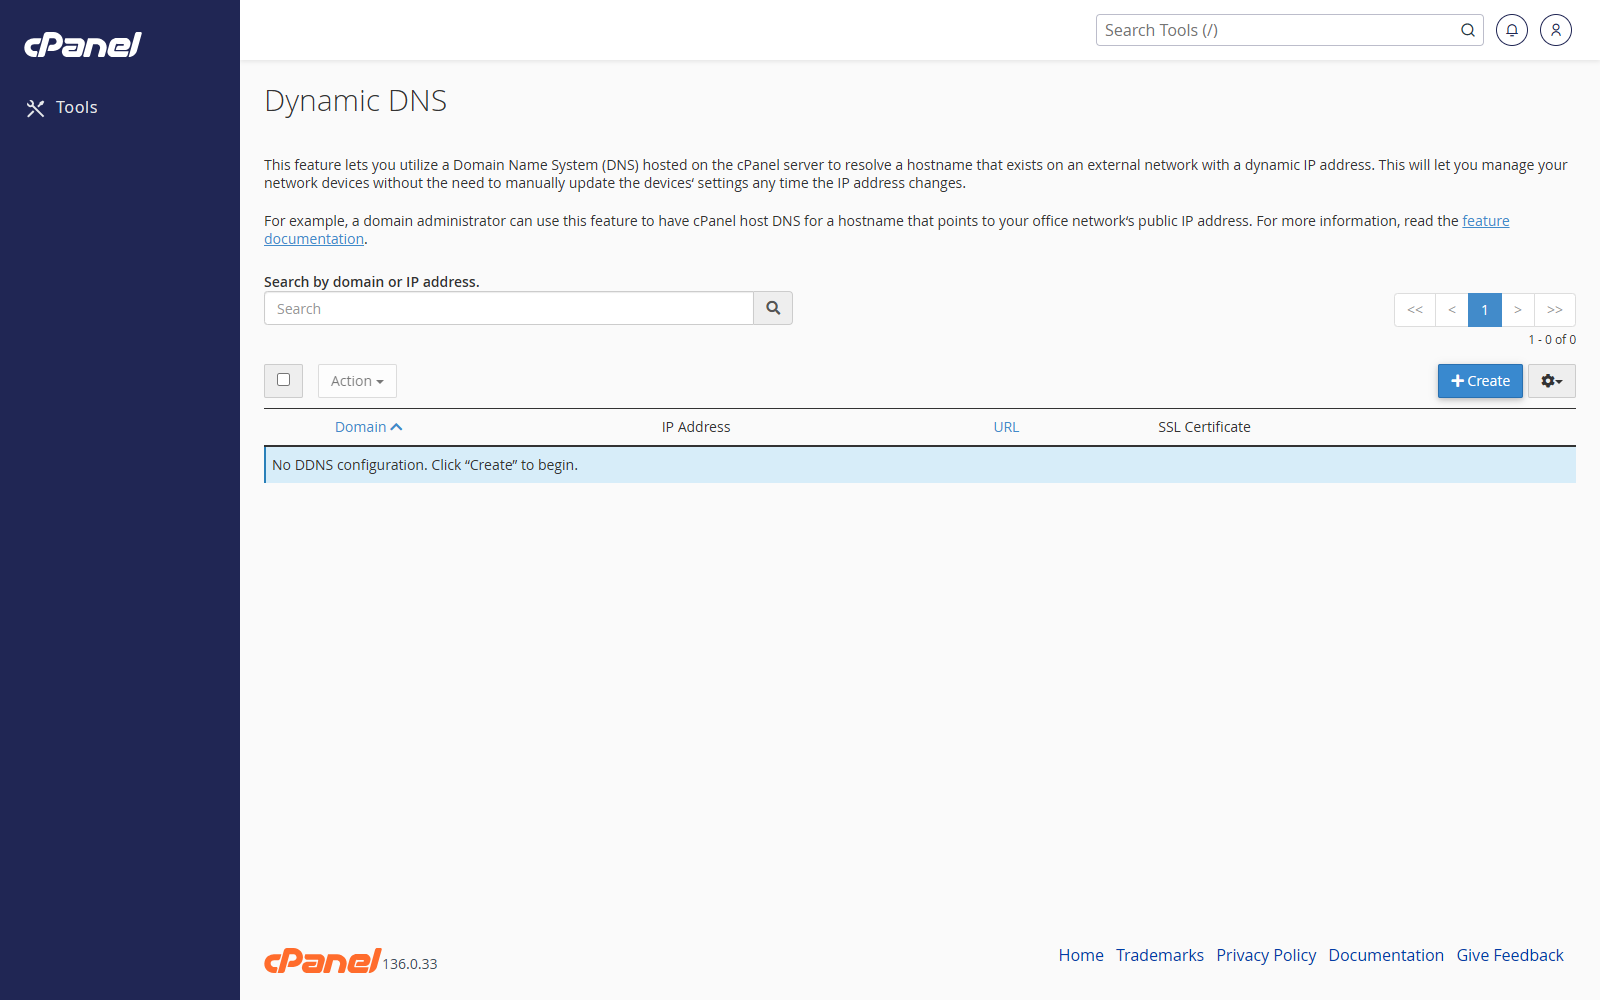
Create a Dynamic DNS Domain
- Go to Domains > Dynamic DNS.
- Click Create.
- Enter the subdomain you want to use.
- Choose the domain.
- Add an IP address manually if needed.
- Add a description if it helps you identify the device or location.
- Click Create.
Copy the Webcall URL
- Go to Domains > Dynamic DNS.
- Find the Dynamic DNS domain.
- Copy the webcall URL.
- Add the URL to the router, firewall, or device that should update the IP address.
Recreate the Webcall URL
- Go to Domains > Dynamic DNS.
- Select the Dynamic DNS domain.
- Click Action.
- Choose Recreate URL.
- Update the device with the new URL.
Delete a Dynamic DNS Domain
- Go to Domains > Dynamic DNS.
- Select the Dynamic DNS domain.
- Click Action.
- Choose Delete.
- Confirm the deletion.
Notes
- Dynamic DNS is useful when an internet connection has a changing IP address.
- Keep the webcall URL private.
- Deleting a Dynamic DNS domain does not delete any SSL certificate that was issued for it.