
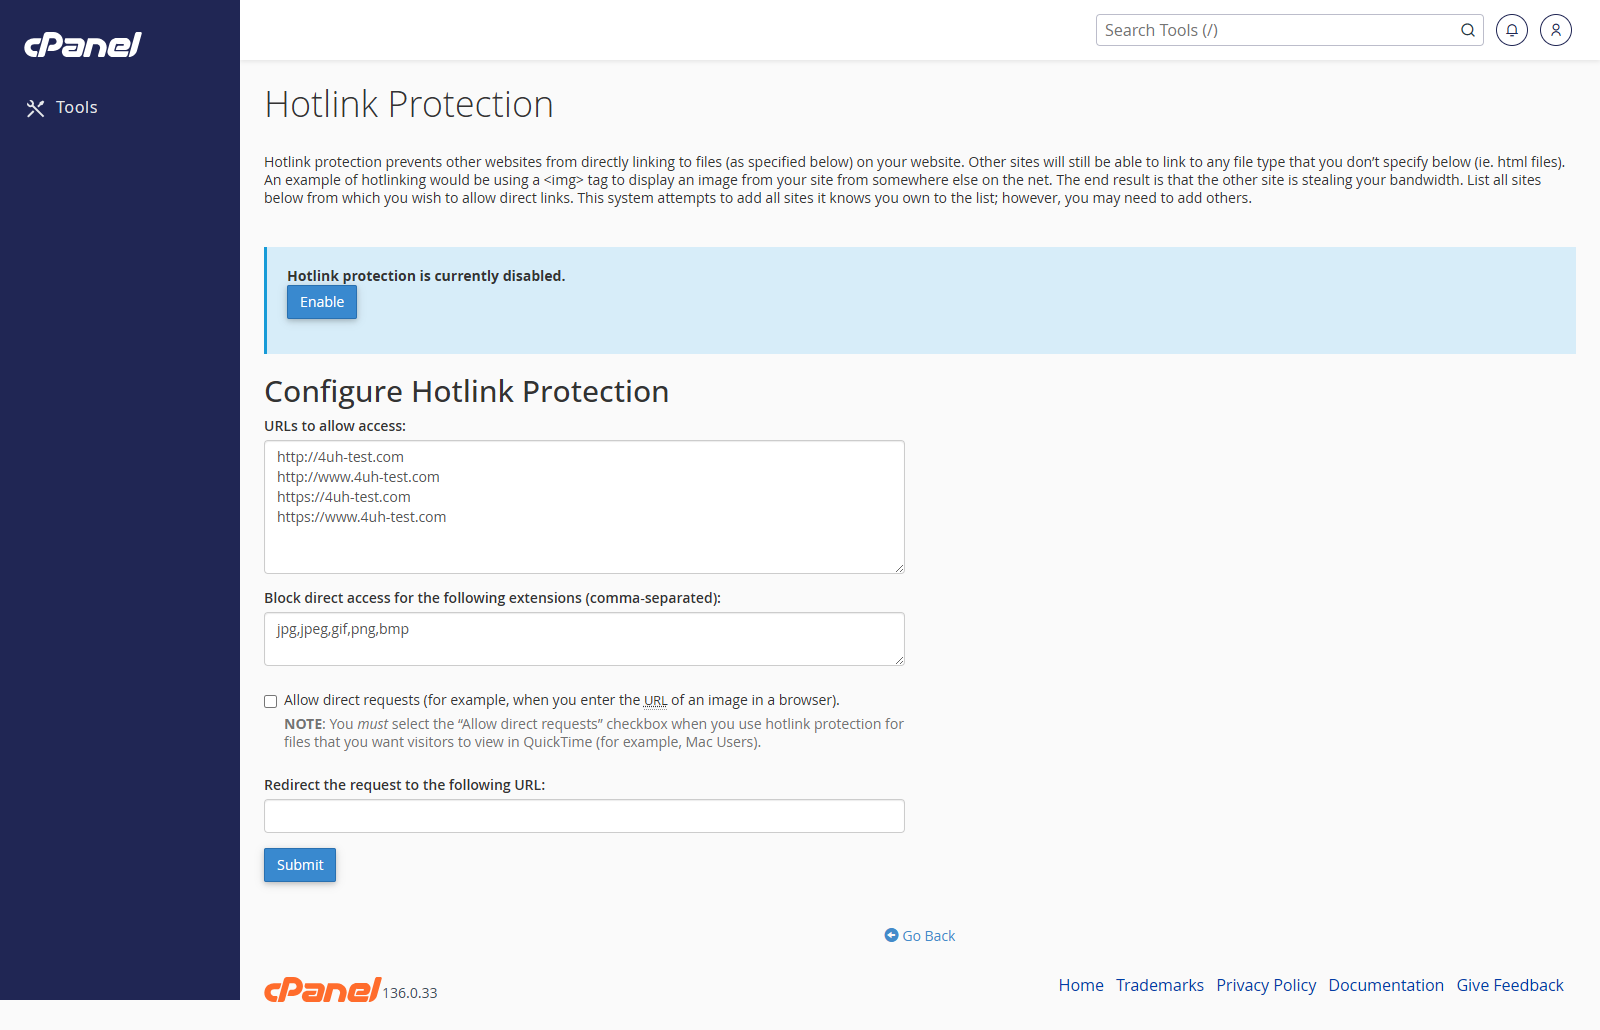
Open Hotlink Protection
- Go to Security > Hotlink Protection.
- Check the list of URLs that are allowed to access your files.
Enable Hotlink Protection
- Add any website URLs that should be allowed to display your files.
- Add the file types you want to protect, such as jpg, jpeg, gif, png, or webp.
- Enter a redirect URL if you want blocked visitors to go to another page.
- Tick Allow direct requests only if visitors should still be able to open protected files directly in a browser.
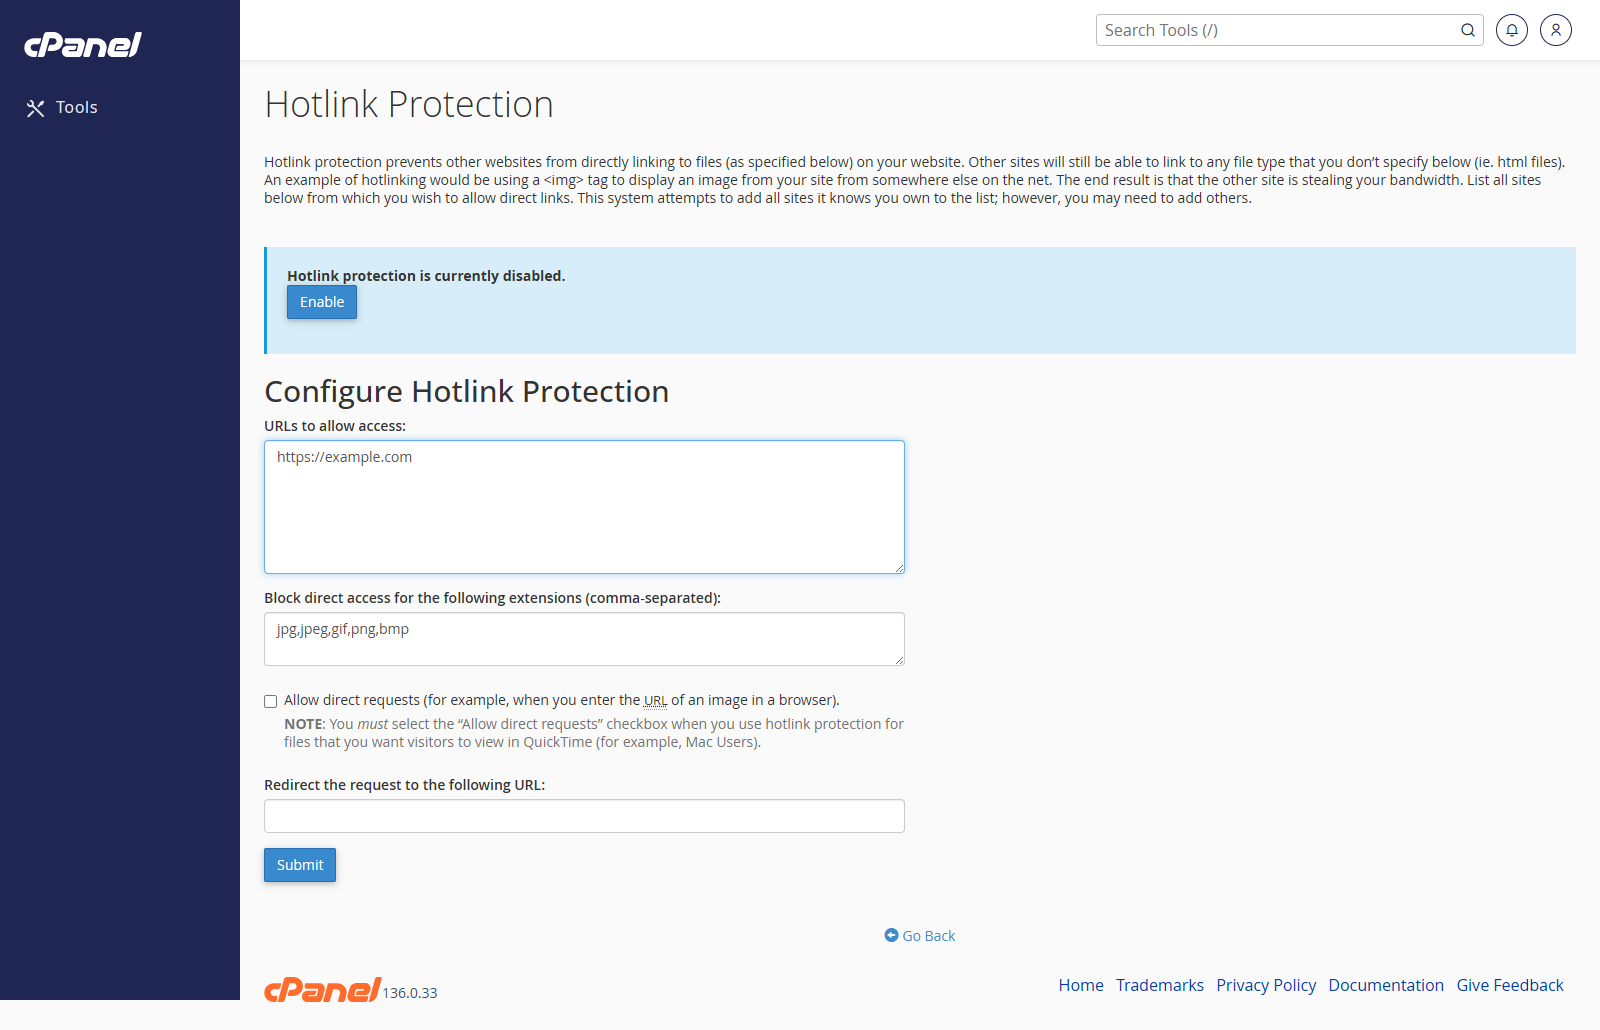
- Click Submit.
- Click Enable if cPanel shows a separate enable button.
Disable Hotlink Protection
- Go to Security > Hotlink Protection.
- Click Disable.
- Confirm the change if cPanel asks.
Notes
- Add both the
httpandhttpsversions of any domain that should be allowed. - Include your own domain names before enabling protection.
- Hotlink Protection usually works by changing rules in the website’s
.htaccessfile.