
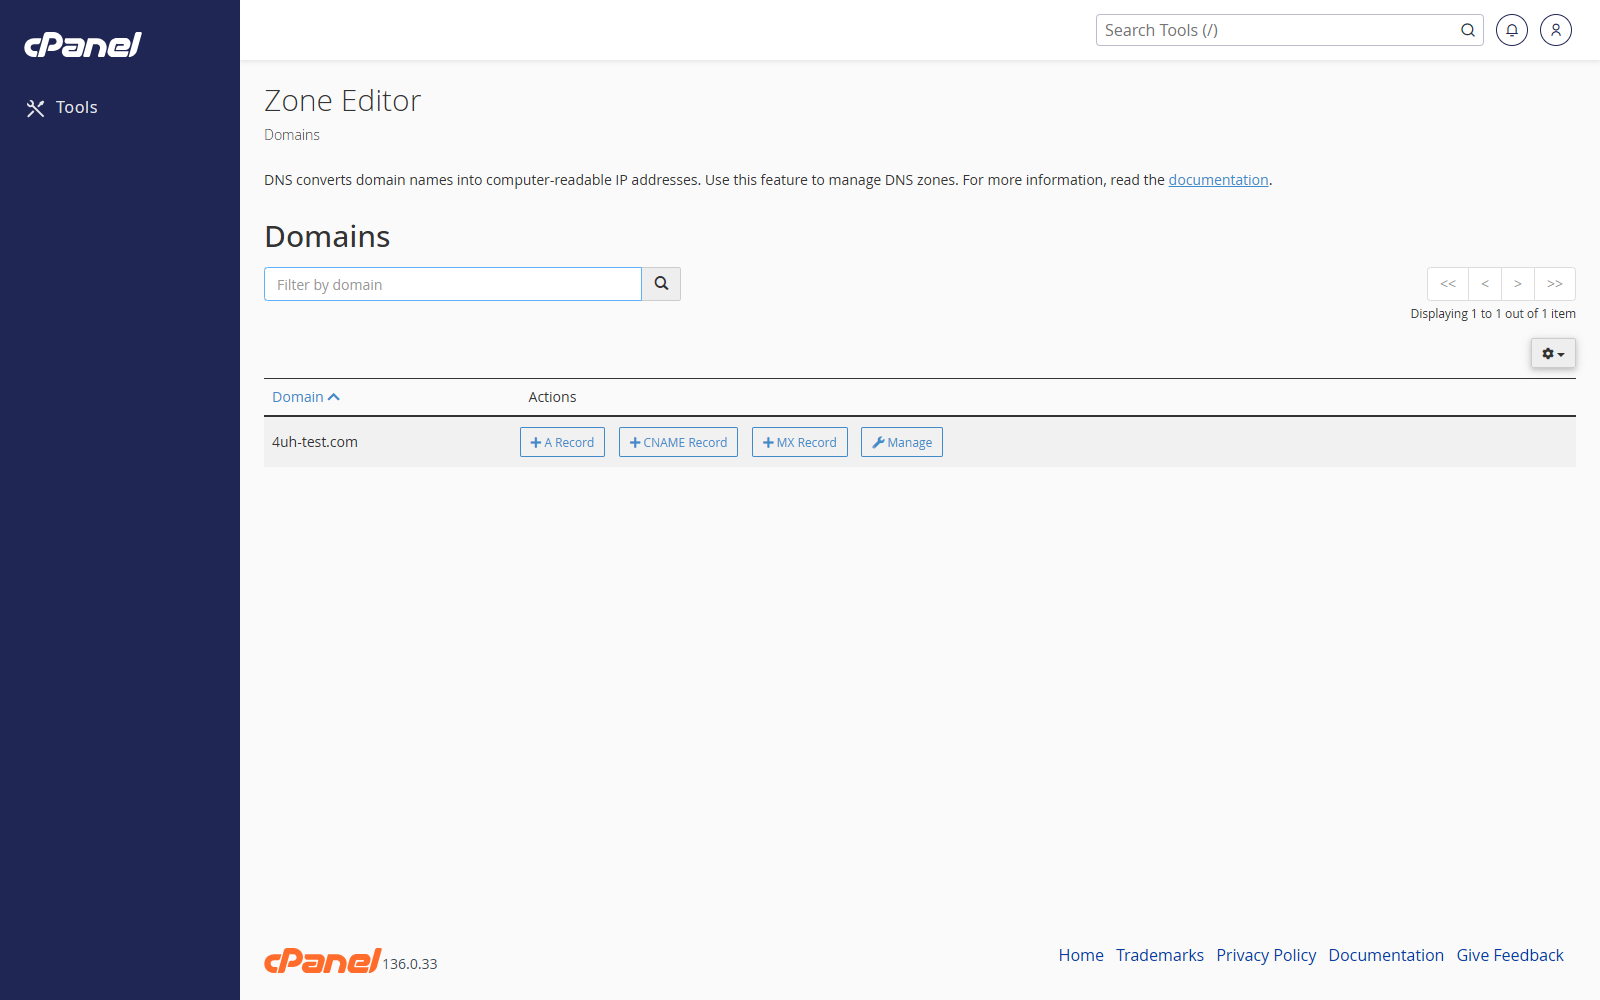
Open the DNS Zone
- Go to Domains > Zone Editor.
- Find the domain.
- Click Manage.
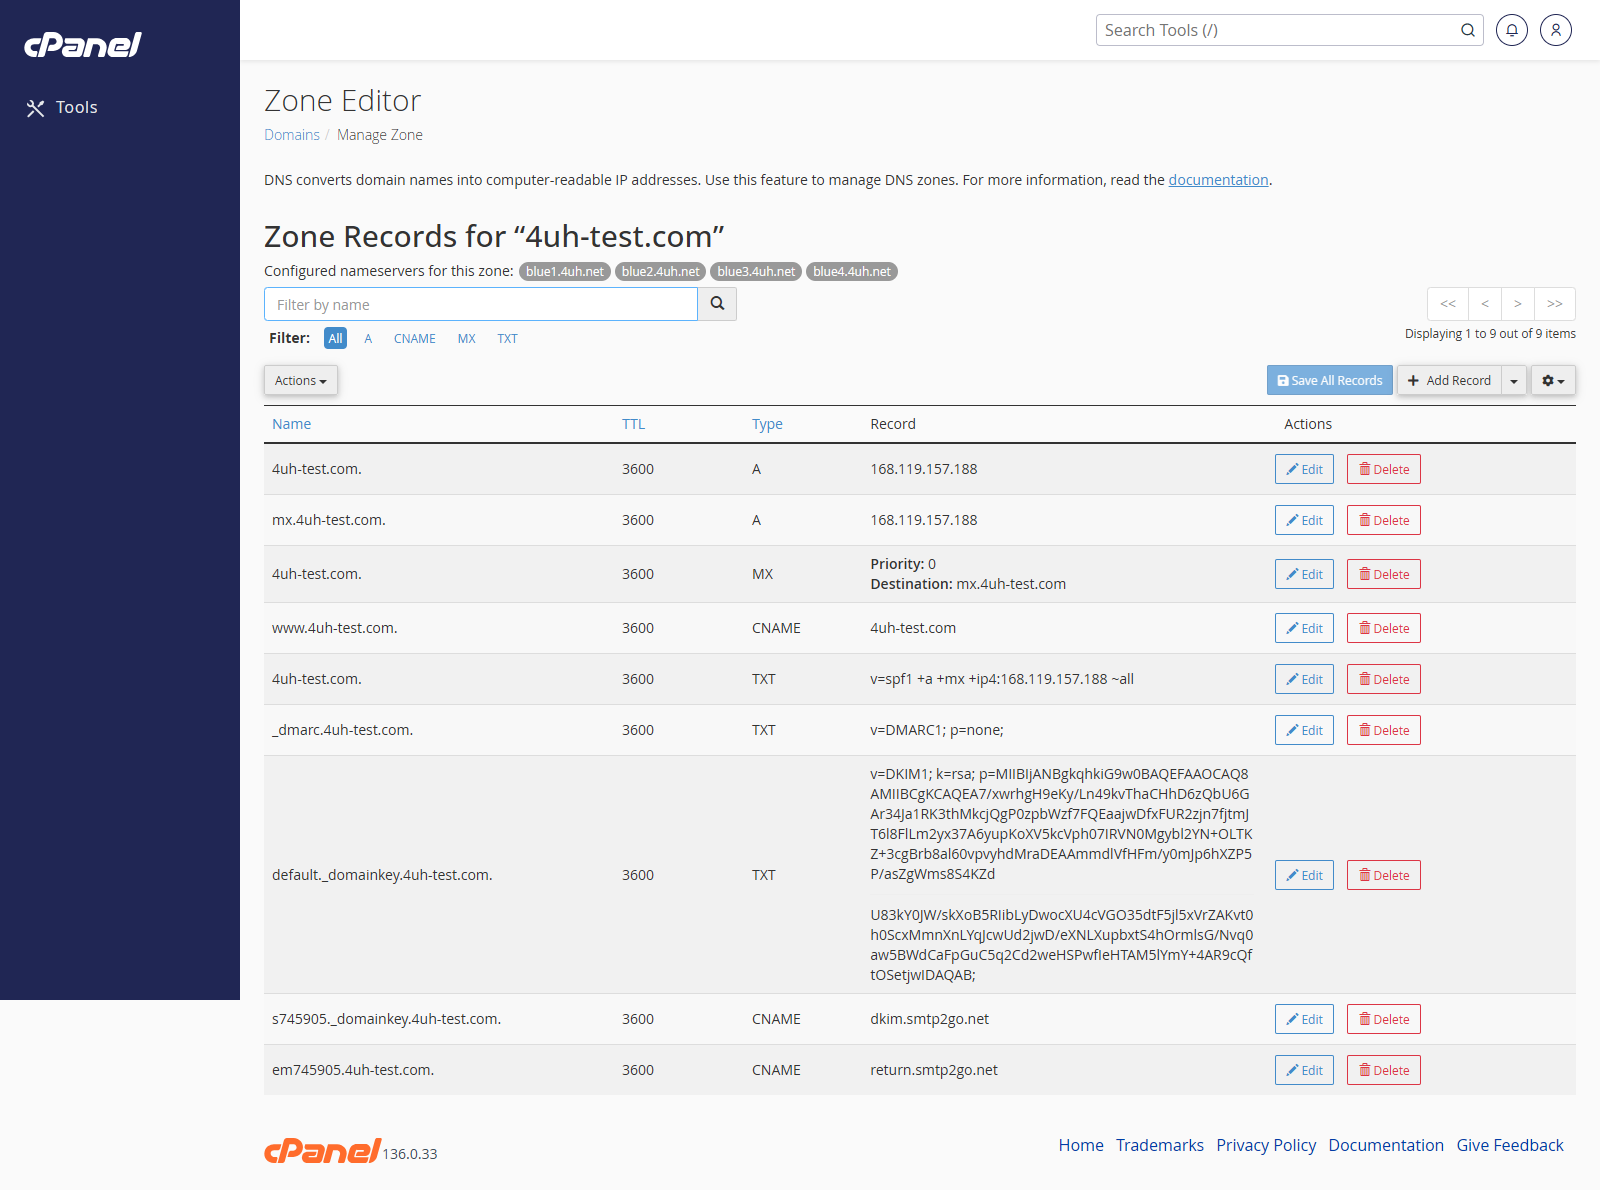
Add a DNS Record
- Open Zone Editor.
- Click Manage next to the domain.
- Click Add Record.
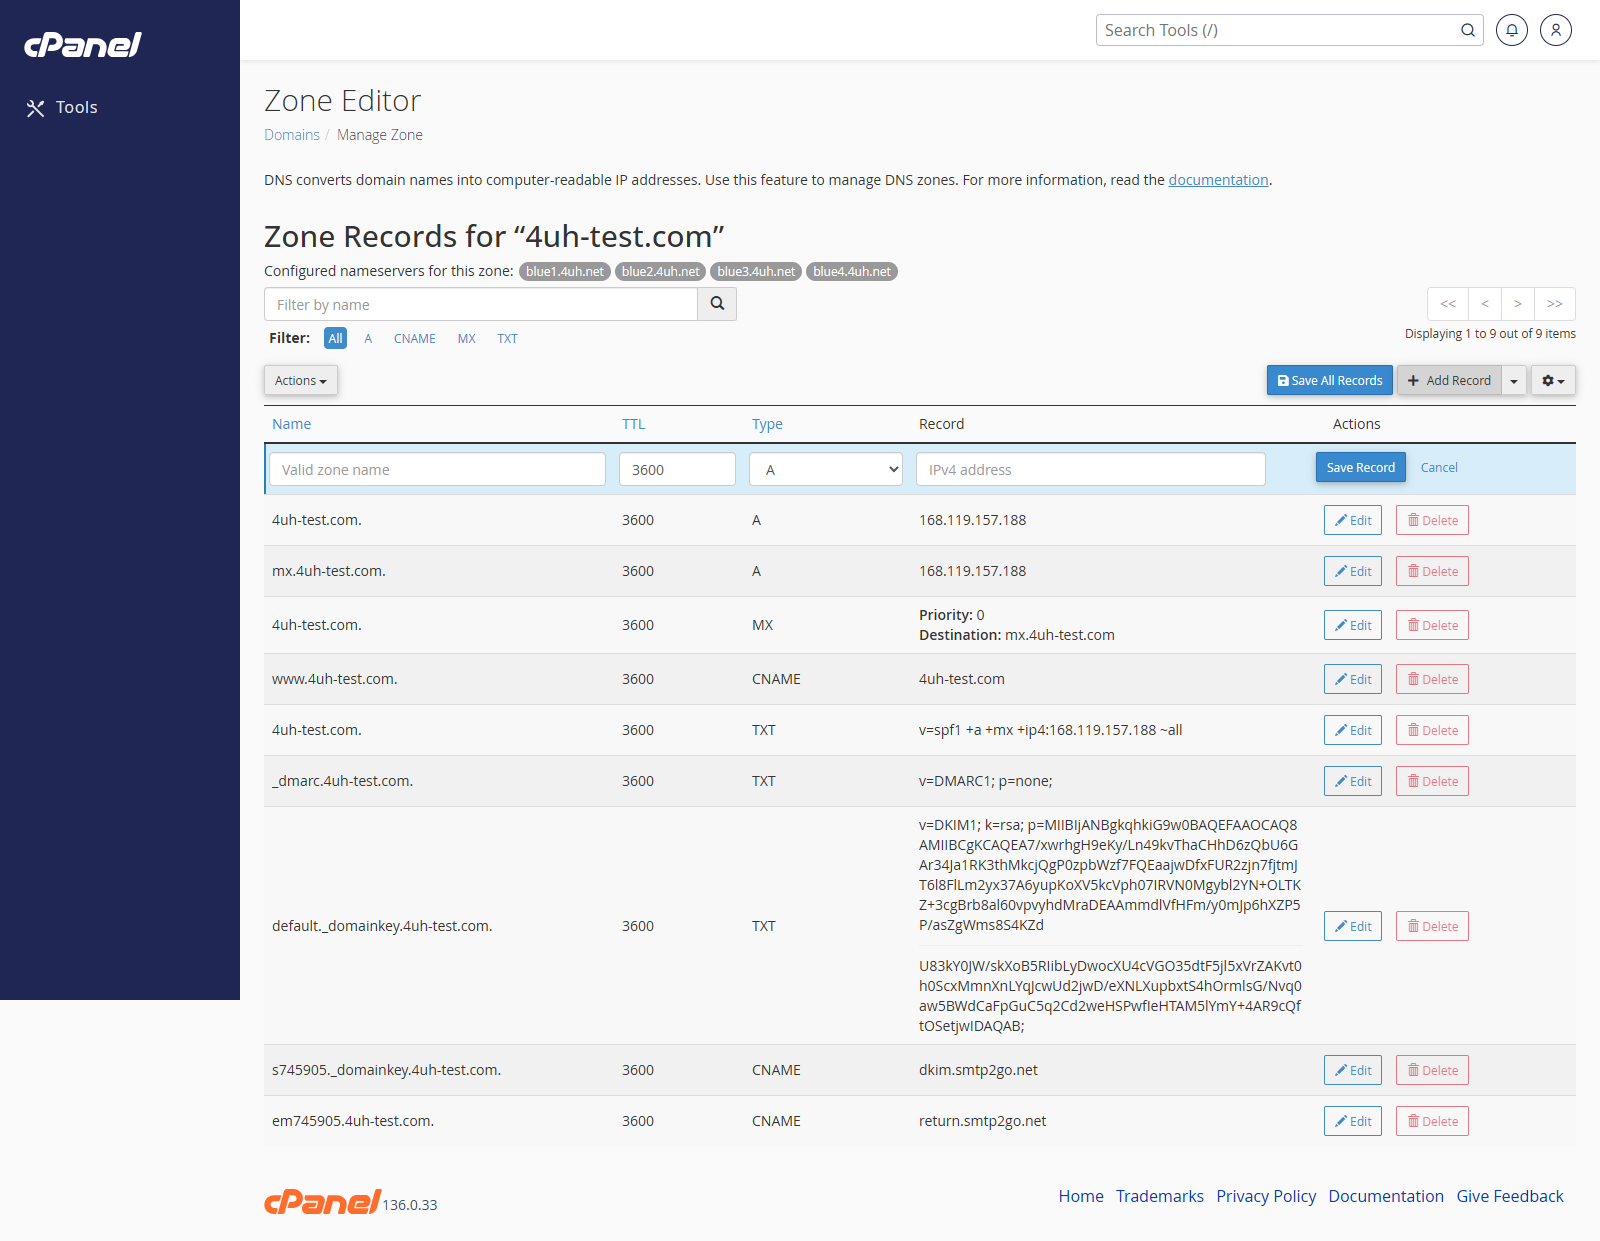
- Choose the record type.
- Enter the name, TTL, and record value.
- Click Save Record.
Add a Quick A, CNAME, or MX Record
- Go to Domains > Zone Editor.
- Find the domain.
- Click A Record, CNAME Record, or MX Record.
- Enter the requested details.
- Click the add button.
Edit a DNS Record
- Open Zone Editor.
- Click Manage next to the domain.
- Find the record.
- Click Edit.
- Change the details.
- Click Save Record.
Delete a DNS Record
- Open Zone Editor.
- Click Manage next to the domain.
- Find the record.
- Click Delete.
- Confirm the deletion.
Notes
- DNS changes can take time to update across the internet.
- Be careful with MX, SPF, DKIM, DMARC, and A records because they can affect email or website access.
- If your DNS is hosted elsewhere, changes in cPanel may not control the live domain.