
Steps
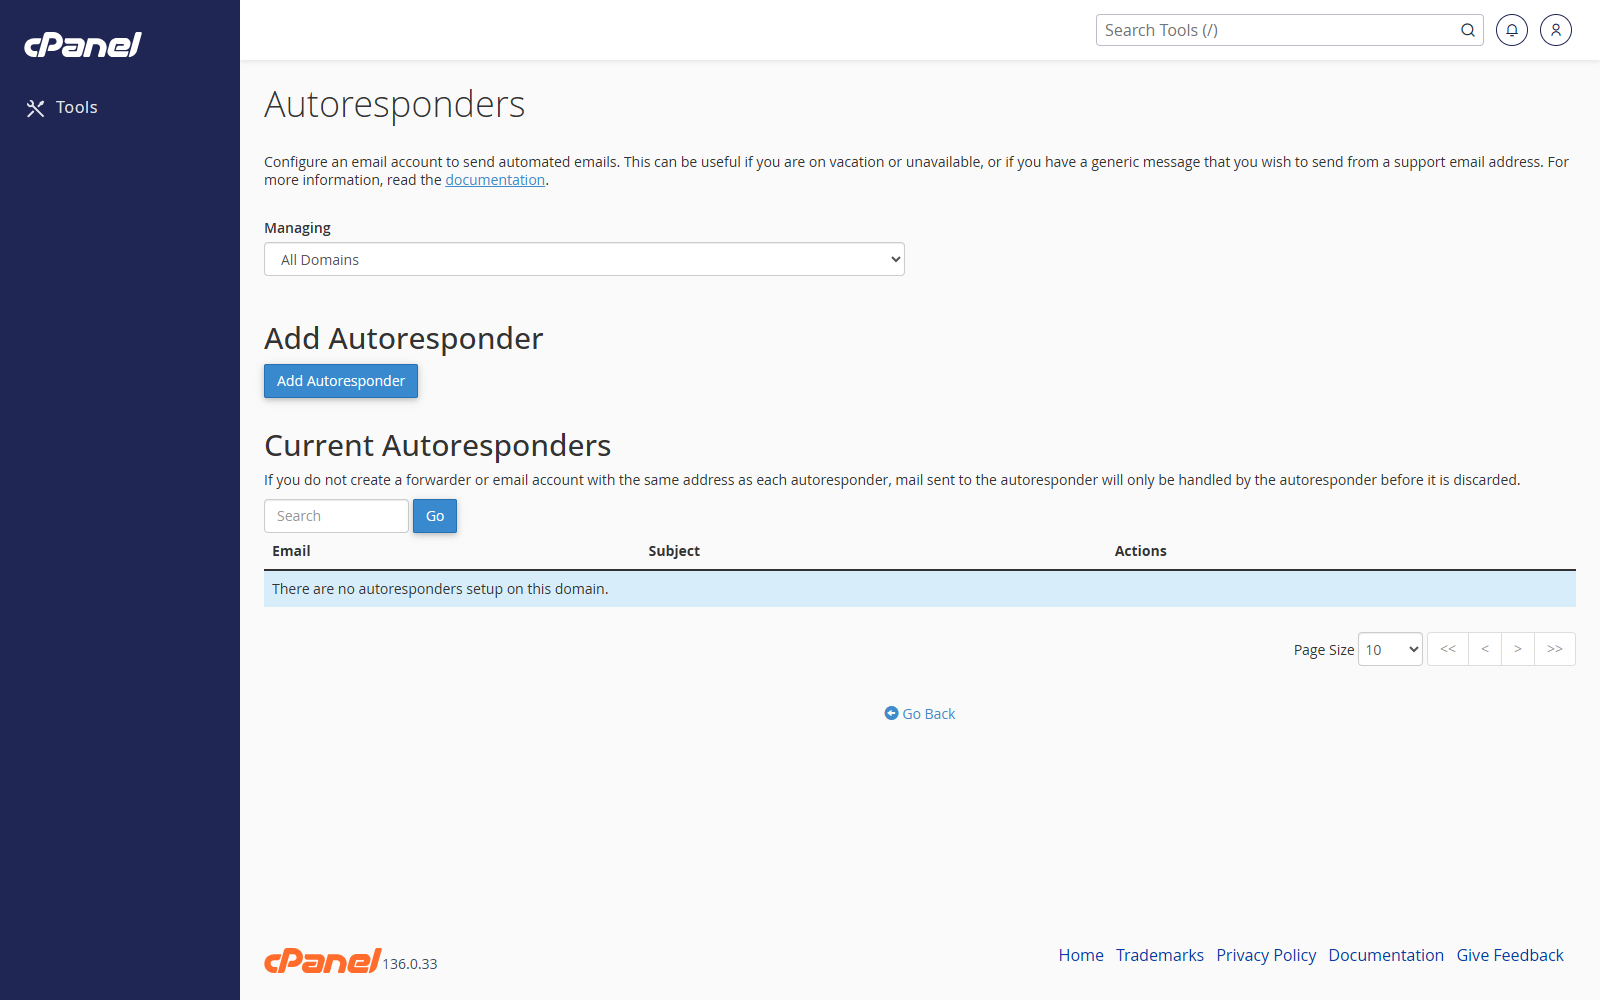
- Log in to cPanel.
- Go to Email > Autoresponders.
- Choose the domain from the Managing menu if needed.
- Click Add Autoresponder.
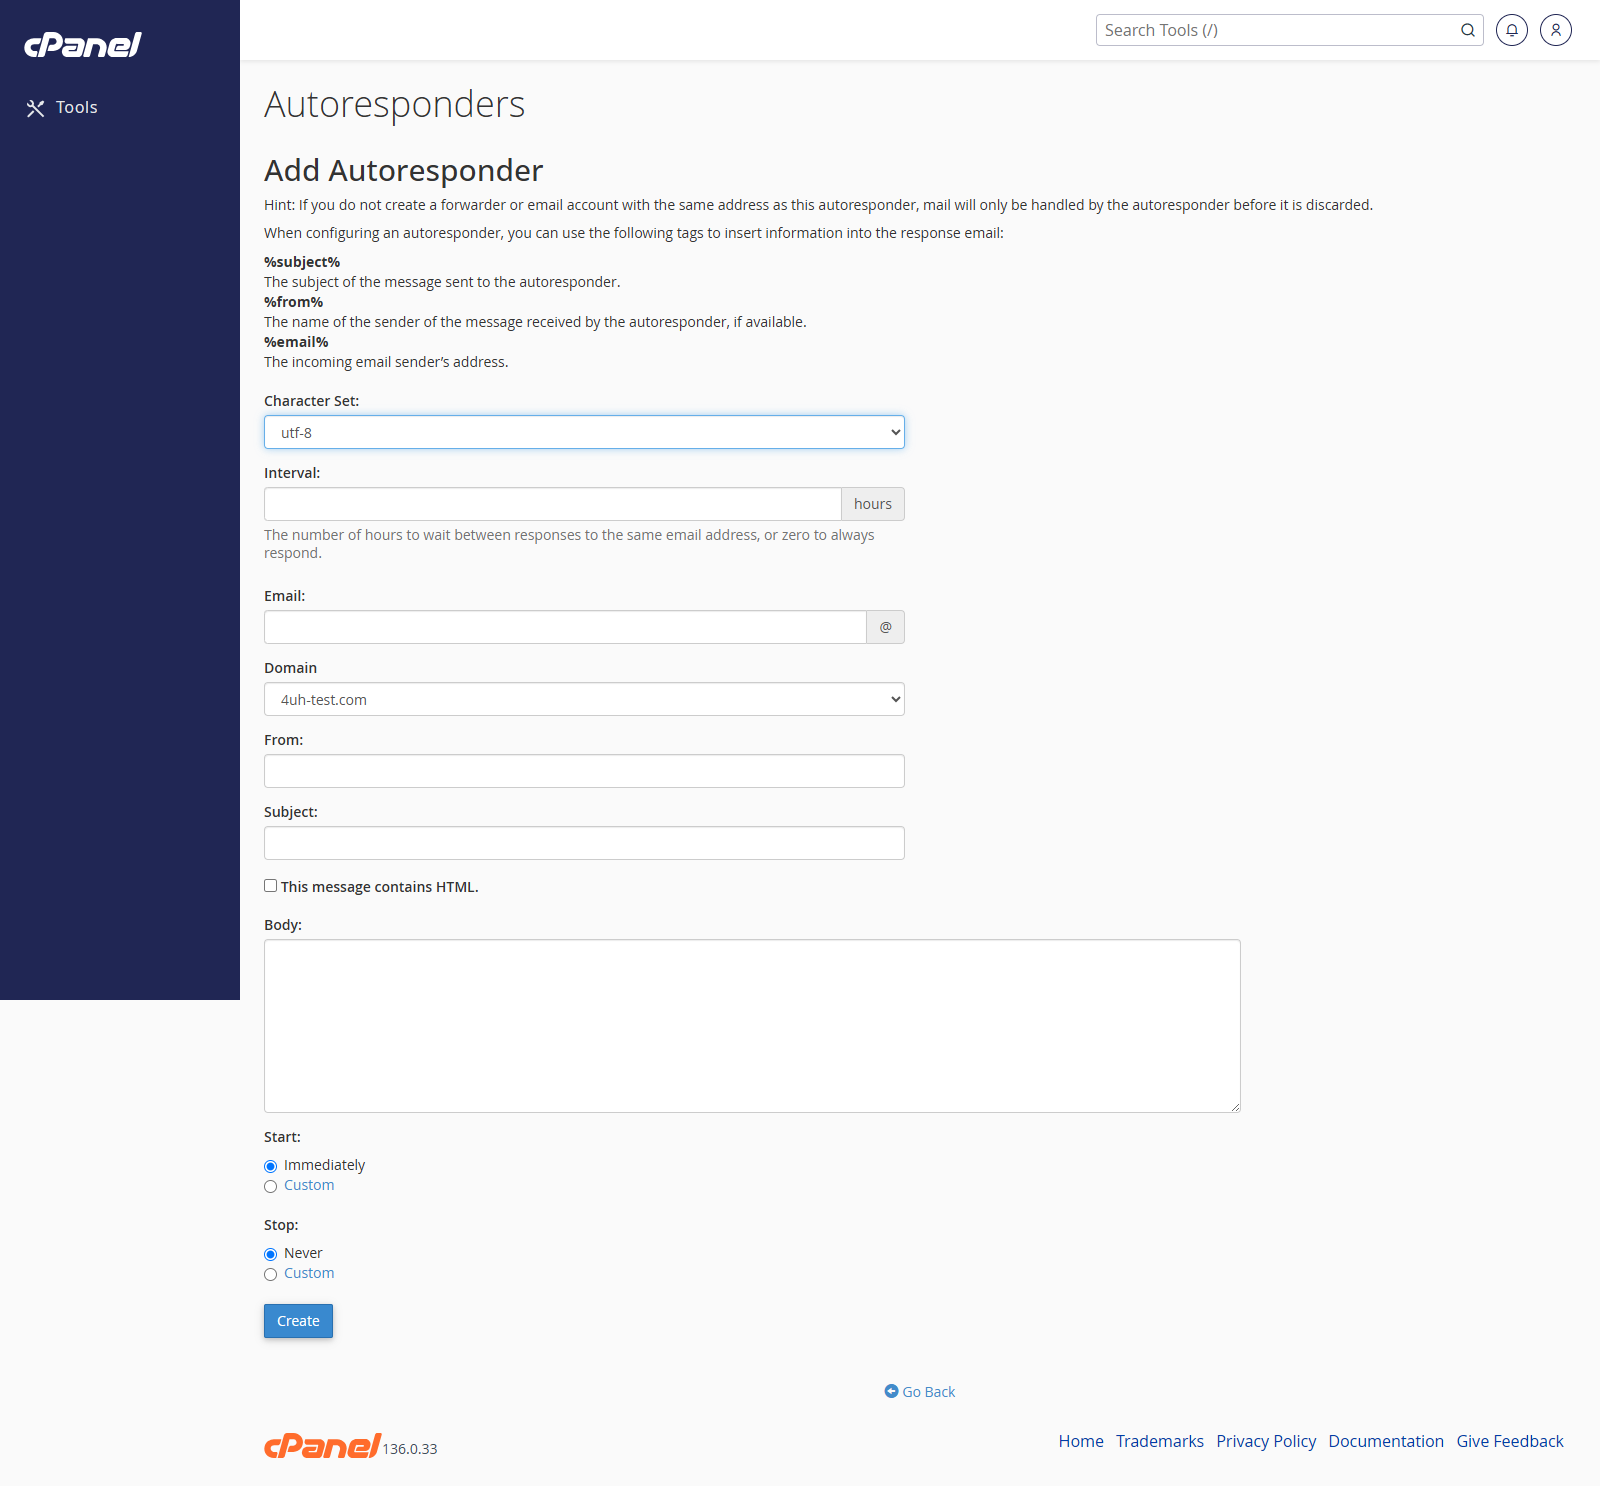
- Leave Character Set as
utf-8unless you know you need something else. - Enter the Interval in hours. This controls how often the same sender can receive the automatic reply.
- Enter the email address that should send the reply.
- Enter the From name.
- Enter the Subject.
- Select HTML only if your message contains HTML.
- Enter the message in Body.
- Choose the start time.
- Choose the stop time.
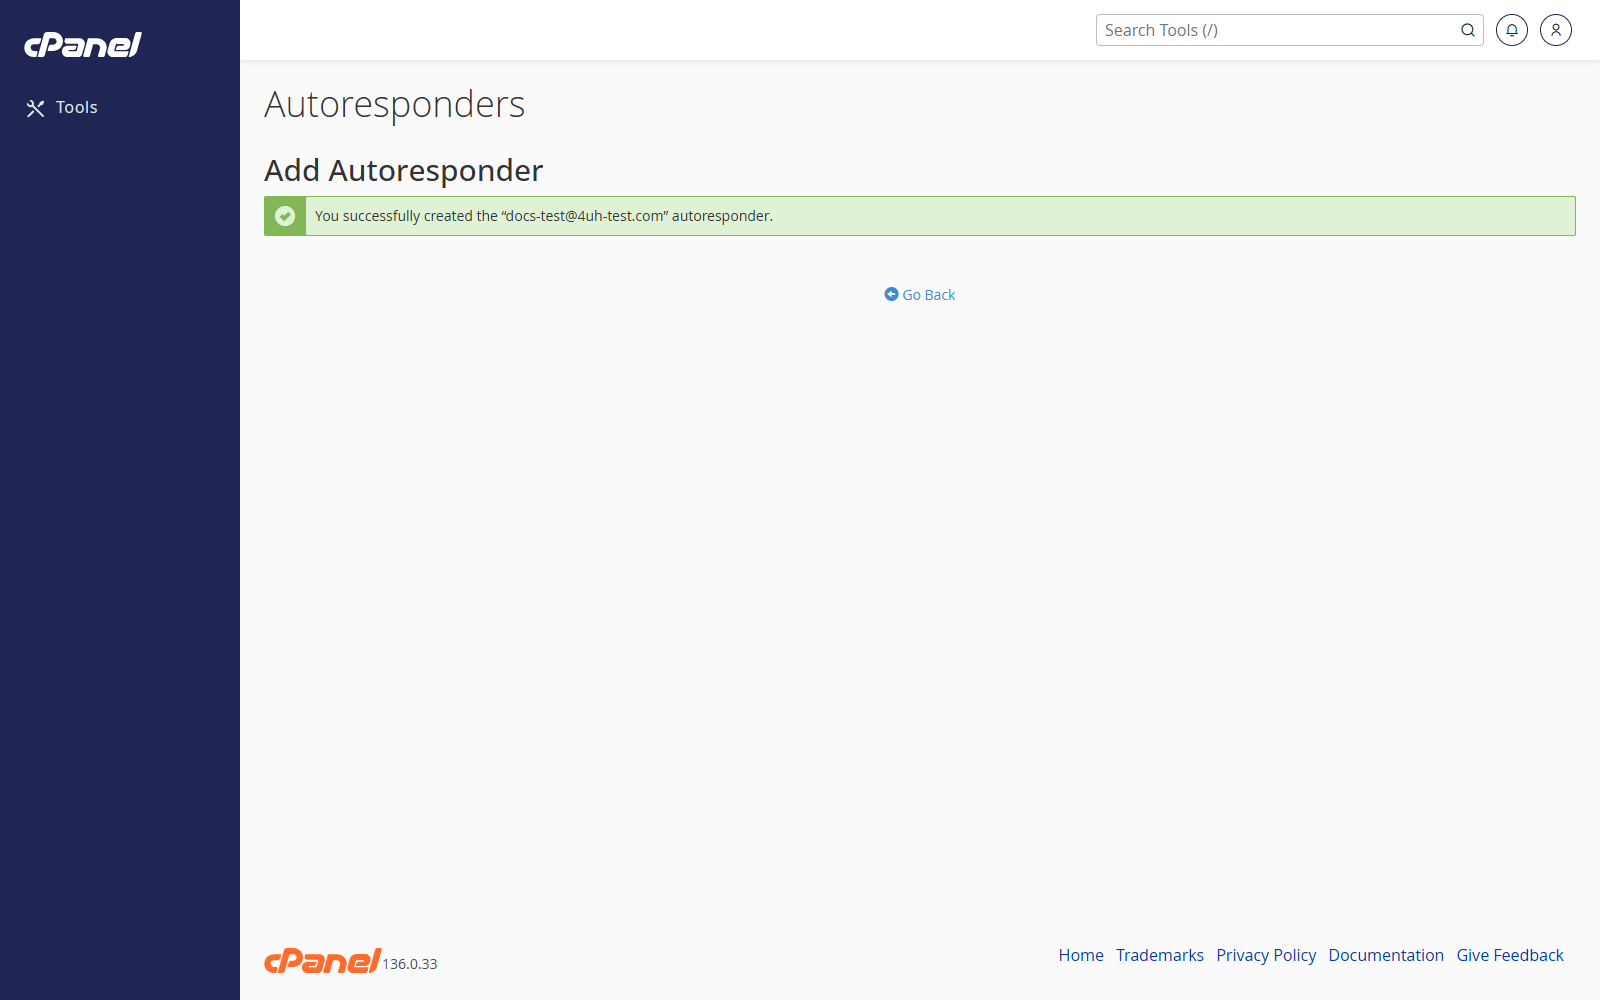
- Click Create.
Edit an Autoresponder
- Go to Email > Autoresponders.
- Find the autoresponder in the list.
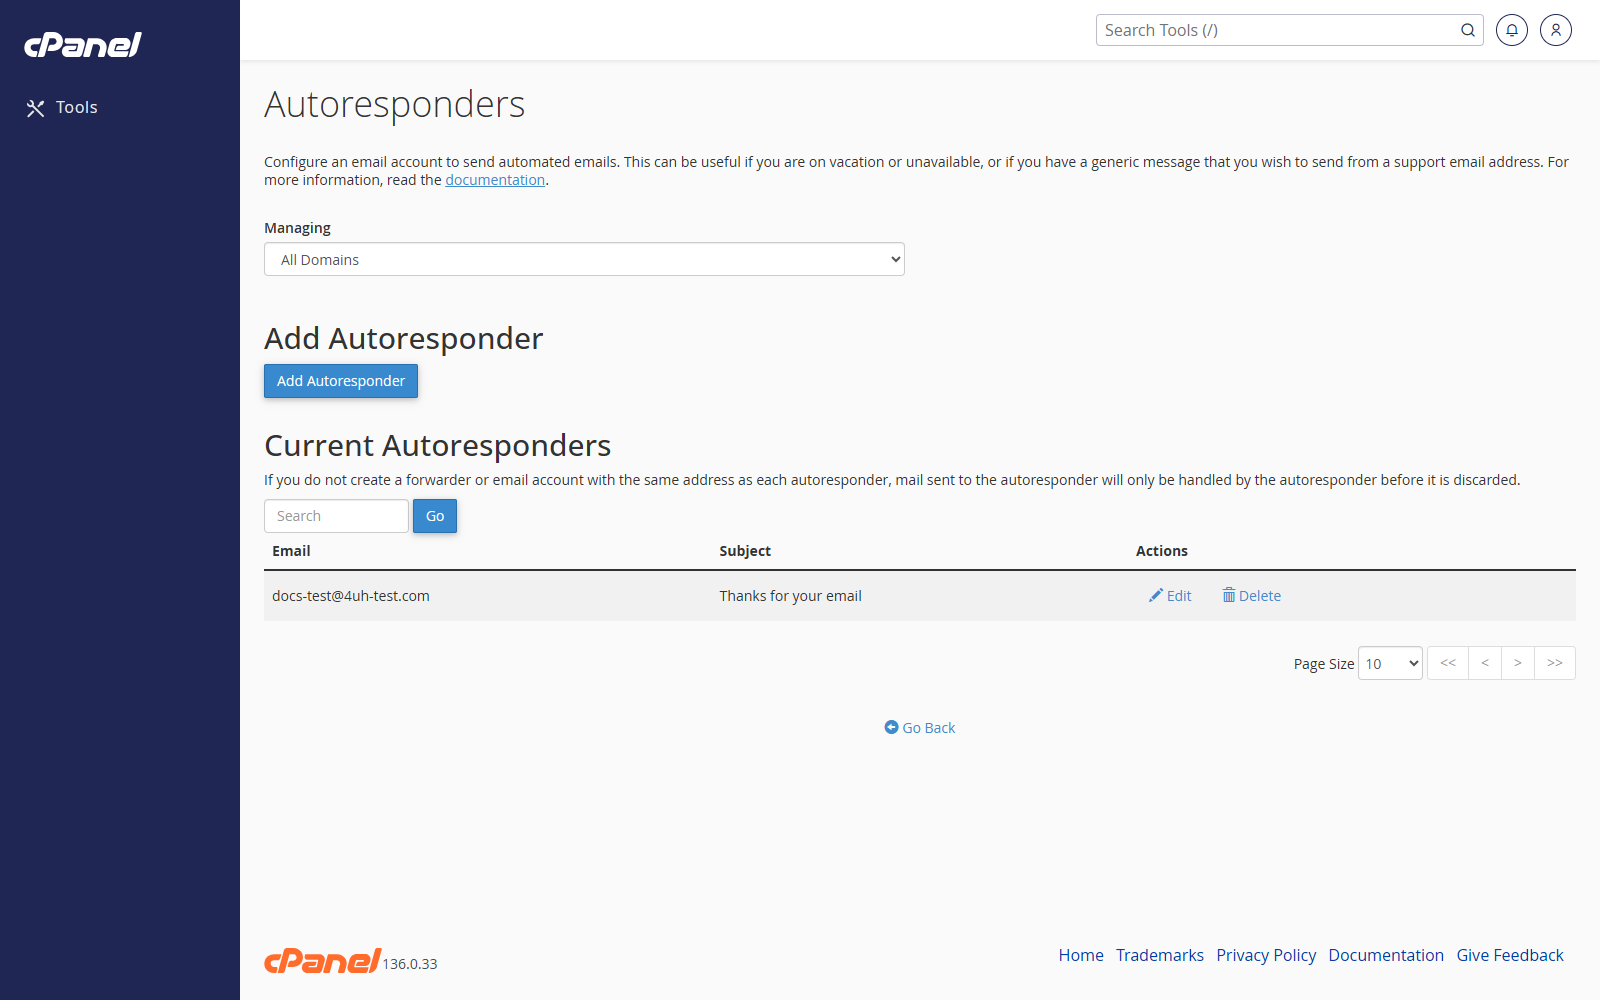
- Click Edit.
- Make your changes.
- Click Modify.
Delete an Autoresponder
- Go to Email > Autoresponders.
- Find the autoresponder.
- Click Delete.
- Confirm by clicking Delete Autoresponder.
Notes
- Use an interval of
0only if you want cPanel to reply to every message. - You can use
%subject%,%from%, and%email%in the message body. - Each email address can only have one autoresponder.